How to light and control your wood-burning stove
Watch a Video Tutorial or follow the steps below to lighting your wood-burning stove perfectly every time.
1. Fully open the air vents. There will be a primary air vent at the bottom, and secondary (also called an airwash) at the top, if you have one.2. Create a base for the fire. Place a firestarter, together with some criss-crossed kiln dried kindling wood in the middle of the grate.
3. Light the Firestarter and leave the door slightly opened. This will help the heat travel up the flue and minimise condensation on the glass.
4. Once the fire is going, add a couple of small logs. Be careful not to add too many logs, as they could smother the fire.
5. When the logs have caught and the fire is fully established, close the door completely and the vent at the bottom of the stove. You can use the secondary vent to control how the fire burns. Opening it increases the heat output and should help a dying fire re-establish.
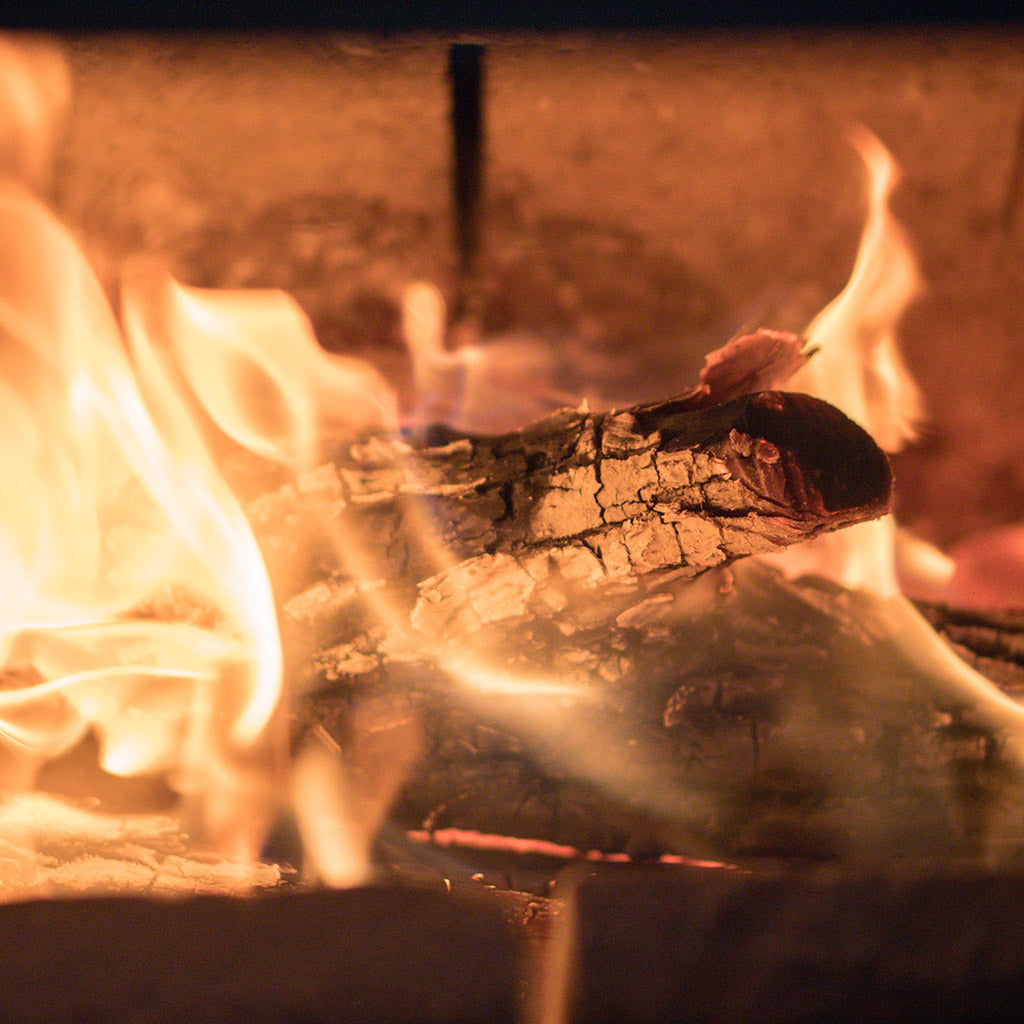
6. Add more logs once the current ones have burnt down, but are still glowing red. Using a poker, spread the embers evenly. Then place more logs on top and leave space for air to circulate.
7. Close the door and open the vents until the logs are burning well. Then close the primary vent and use the secondary one in the same way as before.